Saturday 1 December 2012

Finishing off ...

We visited the boat at the end of November to see the final finishing off ahead of the launch (weather permitting!) at the beginning of December ...

Here is a picture of the magnificent josher bow, which has now been painted in primer (yes, the green is not the final colour!)

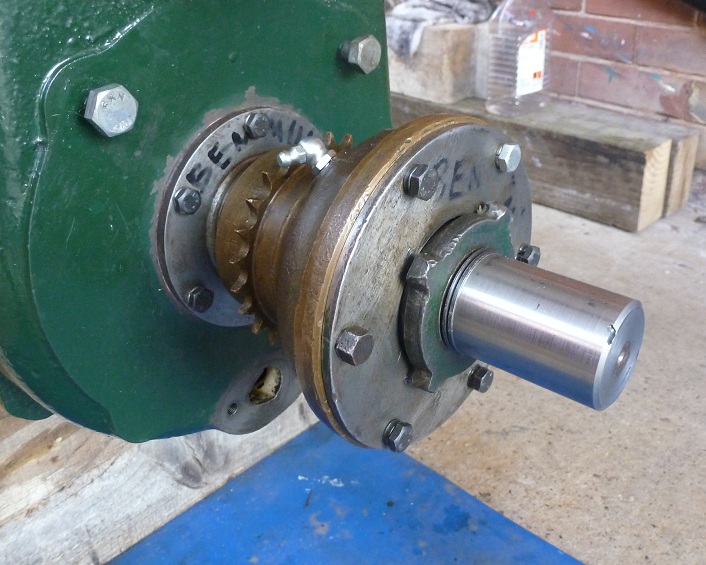
A wonderful job has been done by Tony and Graham on the installation of the Kelvin, which looks fabulous now it's in position

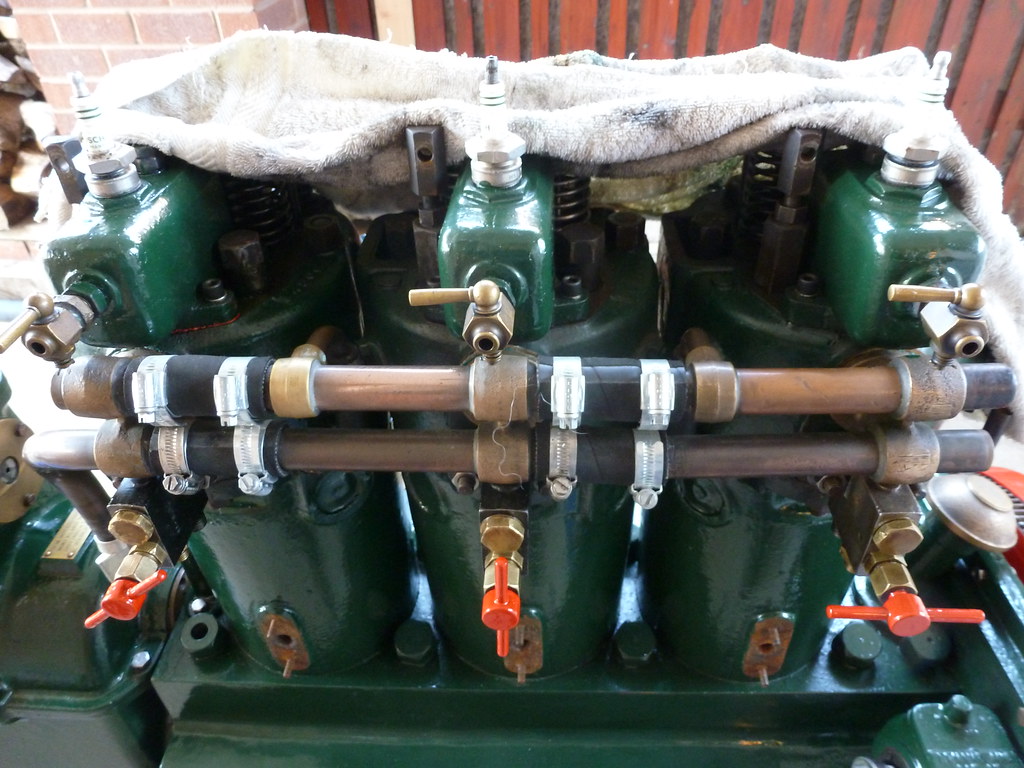
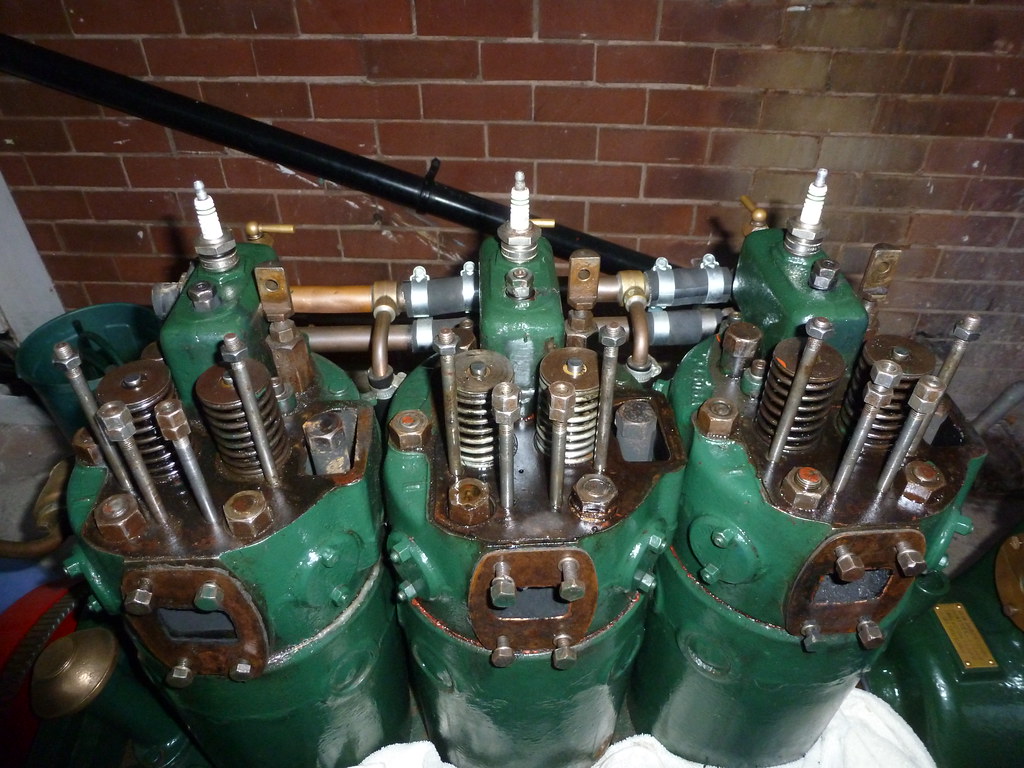
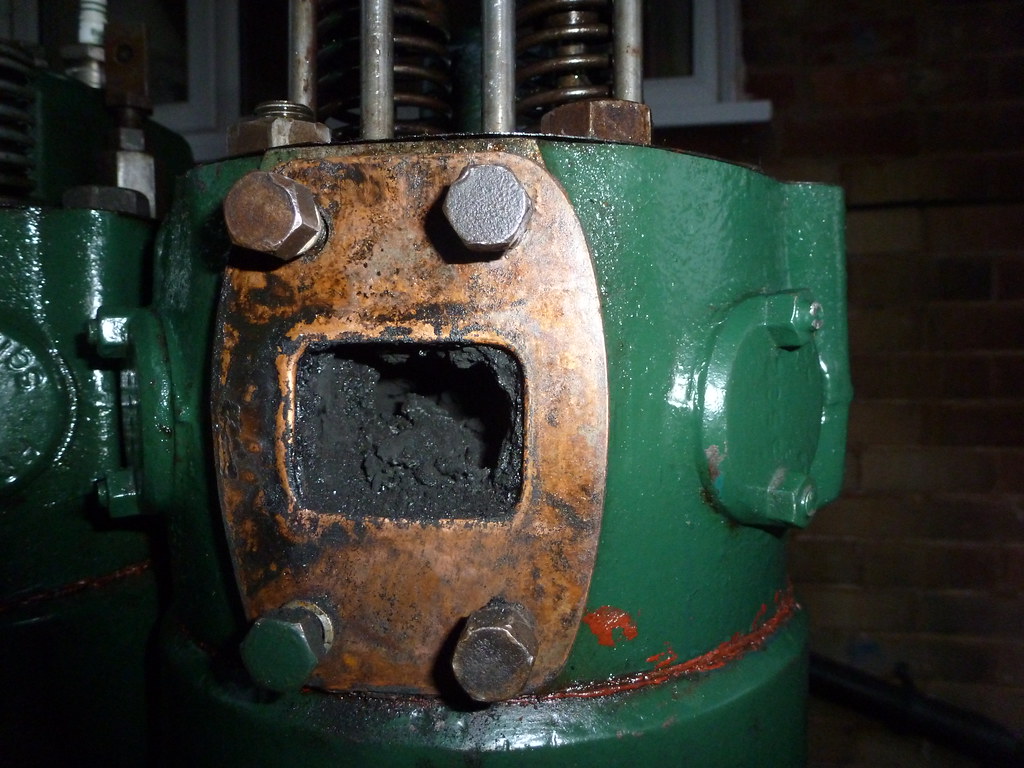
Here's another picture of the engine in situ

The hatch lids and other hardware that will be put back on the boat before it's launched (being painted at the moment)

These are not wooden hatch lids ... just see the quality of the steel work  to create the scrolls on these side hatches

As the evenings have drawn in there has been quite a bit of late working - this is a lovely atmospheric shot of the boat, and note the extra sheeting that was added for the gritblasting and to help keep the temperature up for the paint curing


Sunday 11 November 2012

Steelwork finished ...

The boat's steelwork is now finished, and work remains on installation of the engine, with the details below recorded on 3 November 2012 ...


The beautiful shape of the Norton Canes anser pin ... look at the "nails", and on the dolly below  ...


The engine installation is well underway, and it looks fabulous now it's in situ in the boat ... and note the temporary bulkhead that has been put in place so that we can sail the boat around to the boat fitters.


Another work of art in the "swan's neck", or "ram's head" as some others refer to it.


Saturday 6 October 2012

Getting near to completion ...

We visited the yard at Norton Canes on 1 October 2012 and the following pictures show the progress so far, with the shell nearly complete but with quite a bit to do now on commissioning the engine, and lost of other jobs like temporarily fitting mushroom vents and portholes, and of course grit blasting.


Saturday 8 September 2012

September 2012 progress

We visited the yard at the beginning of September and set out below are some pictures of the current progress:


The wonderful bow shape of the Norton Canes shell, an absolute work of art.


The tug deck, which extends for 8 feet in length.


Sunday 5 August 2012

Progress on shell

This is the progress of the boat shell as at 3 August 2012 ...


Sunday 15 July 2012

Shell progress of June 2012


Here is the engine attached to temporary engine beds, which will shortly be lowered into position on its permanent hardwood beds (which are built transversely according to the Kelvin requirements).


The above picture shows the dollies and rudder stock.  Note the attention to detail on the dollies and the way that they are mounted through the steel work via the small plinth.
  

Above is the renowned Norton Canes rudder stock cap ... or whatever the official name is for it! ... which looks fabulous.


Here is the boat rudder, which is a huge piece of steel but which is balanced superbly ... and it's no coincidence, this is the result of a great deal of boatbuilding experience and skill.  Note also the solid bar section which forms the skeg.

Saturday 14 July 2012

The engine heads to Norton Canes

The picture on the left shows the engine packed and ready for the journey to Norton Canes, which took place at the end of May 2012.  It wasn't an easy job as the engine hoist wasn't anywhere near big enough, but with the skills of the father-in-law we managed to get the engine to the yard (also courtesy of a trailer from Barlows Trailers)
This shows the gearbox linkage system which Dick has rigged up for the engine.  I tried to find the original casting and rang Seward Engineering but, not surprisingly, they didn't have one in stock!  Dick's arrangement, once painted, will look the part and will do the job really well.
Here's the engine with the gear linkage system, which of course allows the engine to be moved forward and reverse from trad controls at the rear of the boat.

Sunday 10 June 2012

The shell begins to take shape ...

We visited Norton Canes on 28 May 2012 to drop the engine off with Graham and Tony, and to take a look at progress with the shell.  The pictures below show the current state of play, with a nice close up of the counter (and great picture of Tony!):


Tuesday 29 May 2012

Engine renovation nears completion

Things tend not to go exactly to plan with Kelvin renovations, and our engine was just the same with some trials and tribulations especially with water leaks from water pipes.  Luckily, Dick Goble had a solution which I sincerely hope will cure the problem and seal the leaks once and for all.  This was to add small spigotted flanges (if that's the appropriate term) to each of the cylinder inlets, in order to replace the damaged and pitted faces.  There are a few pictures below:


The pitted cylinder inlet face
As you can see from the picture, the inlet (or are they outlet?) faces on the cylinders were pitted quite badly, which caused difficulty in achieving a water tight seal.  As well as the small spigotted flanges, we used "milliput" to fill some of the bigger pits in the face, and a decent gasket also of course, to produce a good "sandwich" which will hopefully seal well.


Here are also some pictures of the engine packed up and ready for the transit to Norton Canes, which took place on Monday 28 May 2012, using a hired horse box! from Barlows Trailers and lots of pushing and shoving with the engine hoist!


First shell pictures

This post will be a bit of a catch-up for a few weeks, as we have seen the shell start to be built and the engine renovation having been completed as far as possible.


First for the shell, and it's Norton Canes tug style shell, built by Graham Edgson and Tony Bate at Pelsall, at 60' length.  The early stages of the shell have now been completed as per the first real visit early in May 2012.  Whilst it is early days, you can already see the fine steelwork and super lines of the NC build.  The bow has a 5'6" section, together with an 8' tug deck, you can see that the lines will be wonderful at the front.


Saturday 14 April 2012

Recon to gearbox ...

The rebuild and refurb of the engine has progressed in recenrt weeks, with the main jobs being the reconditioning of the gearbox and the removal of the cylinder heads so that they can be cleaned and refurbished.  The gearbox on my J3 is the steel on steel type ... some come with ferodo lining on the facings ... and the work has involved putting new chains within the gearbox which hopefully will last a long time into the future!  The output shaft from the gearbox has also been machined back to the original size (which I believe is 1 and five-eighths of an inch), as in the attached photograph:


The small sprocket in the photograph is, of course, used to connect - by chain - to the forward and reverse gearwheel which will be at the back for the steerer (connected via a rod and rack and pinion).

Monday 23 January 2012

More pictures for the record

This post is primarily to add further pictures of the engine overhaul, for my own use as they may be important at some future point, and also to help others who might be involved in similar work on the Kelvin J series.  Once you start the overhaul it seems that you keep taking parts off the engine all of the time, and a full-running engine now seems a long way away as the various parts are attended to.

So far things have been pretty routine as far as the overhaul [famous last words!], and I look forward to the point where we can start putting the parts back on the engine and building it up! ... that will happen before too long.


It can be seen from the third of these pictures just how coked-up the exhaust ports were on the engine, which can't have helped with the efficiency of the engine.  This means that we will have to take the cylinder heads off to look further at the valves, as they may similarly be coked-up.  


Monday 2 January 2012

The Kelvin J3 in pictures

It's important to take pictures during any engine overhaul, and I've tried to do this so as to (i) remember how everything goes back together [although to be fair I am also very much relying on expert help!] and (ii) to see the changes in the engine during the period of the refurbishment.  After having checked the engine for major problems and having undertaken a pressure test of the cylinders which appeared satisfactory, the plan has been to overhaul the key components of the engine such as the water pump, governor, injection pump, magneto etc.  I set out below some of pictures of these parts as certainly during this rebuild it has been difficult to find good pictures of these from other engines:


Many of the engine parts have been ... or shortly will be ... rerubished in the period before the shell is ready, and in the following post I show some of the parts that have been overhauled.